Chex Mix is more than just a snack—it’s a timeless treat that brings people together, from movie nights to festive gatherings. This guide will teach you how to create the perfect chex mix recipe oven style, using simple ingredients and creative variations to suit any occasion. Whether you’re a seasoned snack master or a first-time chef, this recipe is sure to become a favorite. Let’s dive into the crunchy world of Chex Mix magic!
Introduction to Oven-Baked Chex Mix
What is Chex Mix?
Chex Mix is a tasty blend of crunchy cereal, nuts, pretzels, and seasonings, baked until perfectly crispy. It’s more than just a savory snack—it combines textures and flavors in every bite, making it a favorite for parties, holidays, and everyday snacking. First created by the Chex cereal brand in the 1950s, it has stood the test of time as a flexible and easy-to-make treat.
What makes Chex Mix special is how adaptable it is. You can stick to a classic recipe or try something new, whether you want it sweet, spicy, salty, or a mix of all three. It’s also easy to use what you already have in your pantry. For example, adding candy makes it sweeter, while extra spices can give it a kick. Thanks to its endless possibilities, Chex Mix is the go-to snack for many occasions. Best of all, it’s simple enough for anyone to make, whether you’re an experienced cook or just starting out.
History of Chex Mix and Its Popularity
Chex Mix started as a smart way to promote Chex cereals but quickly became a popular snack. The original recipe, printed on cereal boxes, showed families how to combine cereals with simple spices and bake them in the oven. Over the years, Chex Mix became a must-have at gatherings, with people adding their own creative twists to make it unique.
Nowadays, Chex Mix recipes can be found everywhere—from vintage cookbooks to popular online blogs—making it more accessible than ever. Furthermore, it remains one of the easiest snacks to prepare for a crowd, perfect for both planned parties and last-minute gatherings. Baking it in the oven not only enhances the flavors but also gives each piece a golden, crispy texture that’s truly hard to resist. As a result, this timeless snack continues to be a favorite for all ages.
Why Make Chex Mix in the Oven?
You might wonder: Why the oven? Baking your Chex Mix in the oven ensures that each bite is evenly coated with flavor and perfectly crisp. While there are microwave and stovetop versions, the oven-baked method reigns supreme for its ability to evenly toast the mix without sogginess. Plus, the slow bake at a low temperature lets the seasoning permeate every piece, creating that irresistible, melt-in-your-mouth taste.
In short, oven-baked Chex Mix offers the best combination of taste, texture, and nostalgia. So, let’s turn up the heat and start baking!
Ingredients and Tools Needed
Essential Ingredients for Classic Chex Mix
To craft the perfect oven-baked Chex Mix, gather the following ingredients:
- Chex Cereals: A mix of Rice, Corn, and Wheat Chex provides a balanced texture and flavor.
- Pretzels: Small pretzel twists or sticks add a salty crunch.
- Nuts: Mixed nuts, such as peanuts, cashews, or almonds, introduce a rich, nutty element.
- Bagel Chips or Melba Toast: These contribute an extra layer of crunchiness.
- Butter: Melted butter serves as the base for the seasoning, ensuring even coating.
- Worcestershire Sauce: This adds a tangy depth to the mix.
- Seasoned Salt: Enhances the overall flavor profile.
- Garlic Powder and Onion Powder: These spices provide a savory kick.
Note: Adjust ingredient quantities based on your preference and the batch size.
Tools and Equipment for Baking Chex Mix in the Oven
Having the right tools ensures a seamless cooking experience:
- Large Mixing Bowl: For combining all ingredients thoroughly.
- Measuring Cups and Spoons: To ensure precise ingredient ratios.
- Wooden Spoon or Spatula: Useful for mixing without crushing the cereal.
- Roasting Pan or Baking Sheets: A large, shallow pan allows for even baking.
- Parchment Paper: Lining the pan makes for easy cleanup and prevents sticking.
- Oven Mitts: Essential for handling hot equipment safely.
Optional Add-Ons for a Custom Chex Mix
Personalize your Chex Mix by incorporating these optional ingredients:
- Cheerios: Adds a different texture and mild sweetness.
- Cheese Crackers: Introduces a cheesy flavor that complements the mix.
- Spices: Consider adding cayenne pepper for heat or smoked paprika for a smoky undertone.
- Dried Fruits: For a sweet and savory combination, add raisins or dried cranberries after baking.
By assembling these ingredients and tools, you’re well on your way to creating a delicious chex mix recipe oven enthusiasts will appreciate.
Step-by-Step Recipe
Preparing the Ingredients
- Measure and Combine Dry Ingredients: In a large mixing bowl, combine equal parts of Rice, Corn, and Wheat Chex cereals. Add pretzels, mixed nuts, and bagel chips to the bowl. Gently mix to ensure an even distribution without breaking the pieces.
- Prepare the Seasoning Mixture: In a microwave-safe bowl, melt the butter until fully liquefied. Stir in Worcestershire sauce, seasoned salt, garlic powder, and onion powder. Mix until the seasonings are fully dissolved, creating a uniform sauce.
Mixing the Seasonings
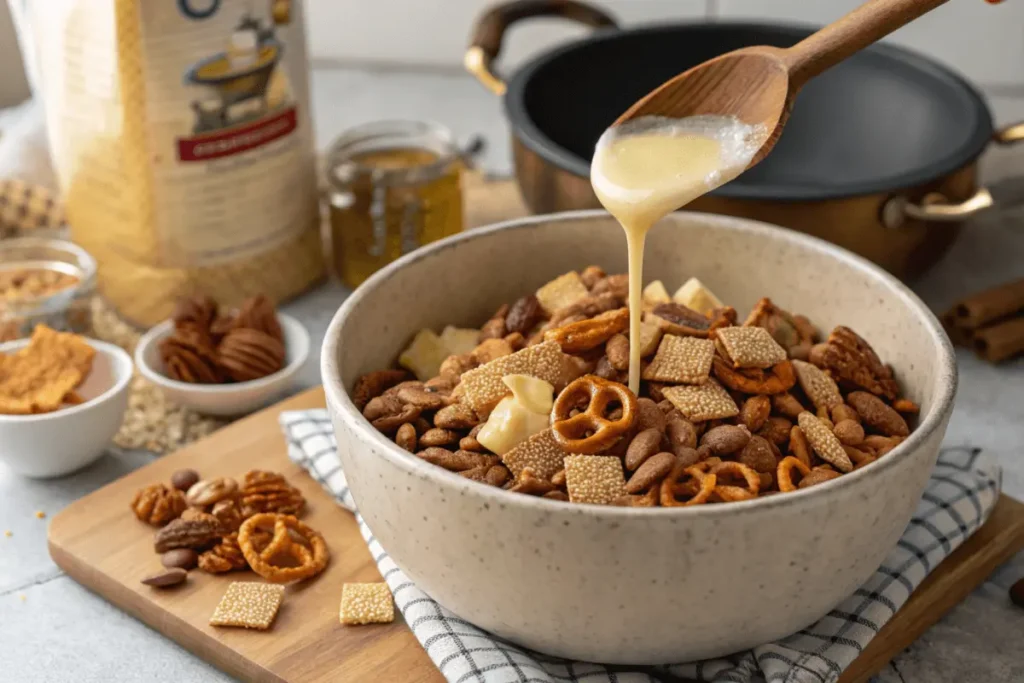
- Coat the Dry Ingredients: Gradually pour the seasoning mixture over the combined dry ingredients, stirring continuously to ensure every piece is evenly coated. This step is crucial for achieving a consistent flavor throughout the mix.
- Let It Sit: Allow the mixture to sit for a few minutes, enabling the cereals and snacks to absorb the seasoning fully.

Baking the Perfect Chex Mix: Time and Temperature
- Preheat the Oven: Set your oven to 250°F (120°C). A low temperature ensures the mix bakes slowly, allowing flavors to meld without burning.
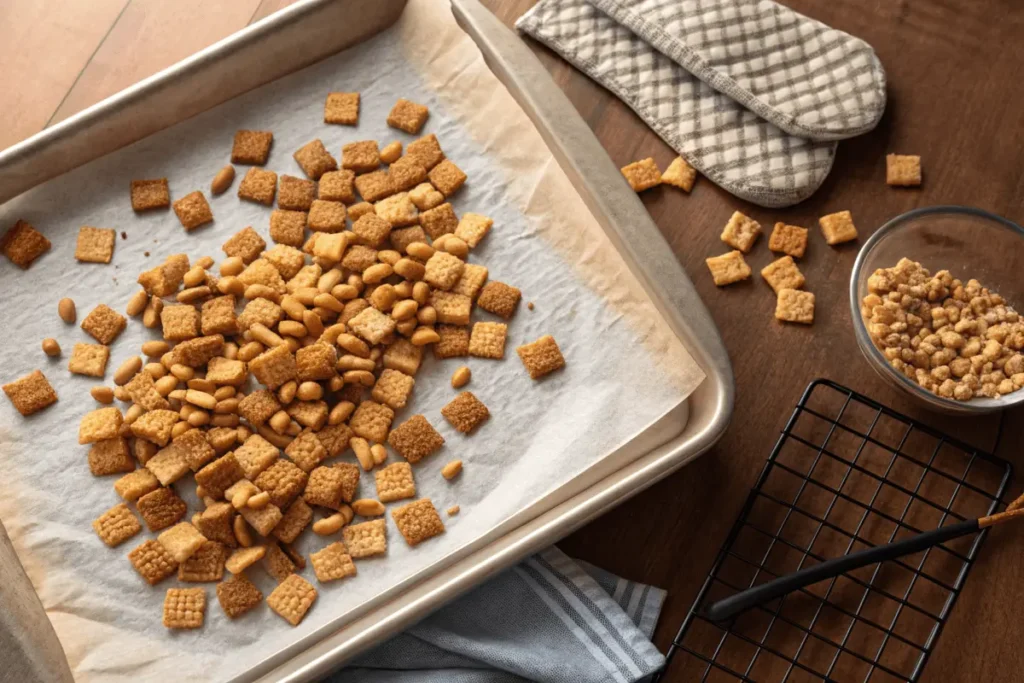
- Arrange the Mix on Baking Sheets: Line a large roasting pan or baking sheets with parchment paper. Spread the seasoned mix in an even layer, avoiding overcrowding to promote even baking.
- Bake: Place the pan in the preheated oven. Bake for 1 hour, stirring every 15 minutes to prevent sticking and ensure uniform toasting. This method enhances the crispiness of the chex mix recipe oven.

Cooling and Storing Your Chex Mix
- Cool the Mix: After baking, remove the pan from the oven and let the Chex Mix cool completely on the baking sheet. This cooling process allows the mix to crisp up further.
- Store Properly: Once cooled, transfer the Chex Mix to an airtight container to maintain freshness. Store at room temperature, where it will stay fresh for up to two weeks. For extended storage, consider freezing portions in airtight freezer bags; they can last up to two months.
By following these steps, you’ll create a homemade Chex Mix that’s flavorful, crunchy, and sure to be a hit at any gathering.
Variations on the Classic Recipe
Sweet vs. Savory Chex Mix
While the traditional chex mix recipe oven offers a savory delight, exploring sweet variations can satisfy different taste buds. For a sweet twist, consider adding ingredients like honey-glazed nuts, chocolate chips, or caramel drizzle. Conversely, for a more savory profile, incorporate spices such as smoked paprika or cayenne pepper to introduce a subtle heat. Balancing sweet and savory elements allows for a versatile snack suitable for various occasions.
Holiday-Themed Chex Mix Ideas
Tailoring your Chex Mix to fit holiday themes adds a festive touch to your gatherings. For instance, during the winter holidays, mix in red and green candy-coated chocolates, peppermint bits, or dried cranberries to evoke seasonal flavors and colors. In contrast, for Halloween, incorporate candy corn and orange-colored candies to create a spooky snack mix. Adapting the chex mix recipe oven to align with holiday themes enhances the celebratory atmosphere and delights guests of all ages.
Gluten-Free and Vegan Options
Accommodating dietary preferences is simple with Chex Mix. To create a gluten-free version, use gluten-free Chex cereals and substitute traditional pretzels and bagel chips with gluten-free alternatives. Ensure that all seasonings and additives, such as Worcestershire sauce, are certified gluten-free. For a vegan-friendly mix, replace butter with plant-based margarine and choose vegan Worcestershire sauce. Additionally, verify that all included snacks and seasonings align with vegan dietary requirements. By making these adjustments, the chex mix recipe oven becomes an inclusive treat for everyone to enjoy.
For more breakfast recipes, check out our recipe article.
Common Mistakes to Avoid
Overbaking or Burning the Mix
One common pitfall when preparing Chex Mix in the oven is overbaking, which can lead to a burnt and bitter snack. To prevent this, adhere strictly to the recommended baking time and temperature, typically baking at 250°F (120°C) for one hour, stirring every 15 minutes. Monitoring the mix closely during the final stages of baking ensures it achieves a golden-brown hue without crossing into overdone territory.
Uneven Distribution of Seasoning
Achieving a consistent flavor throughout your Chex Mix hinges on evenly distributing the seasoning. Pouring the seasoning mixture gradually over the dry ingredients while continuously stirring helps each piece receive an equal coating. Taking the time to mix thoroughly before baking prevents some portions from becoming overly seasoned while others remain bland, resulting in a harmonious taste experience.
Storing the Mix Incorrectly
Improper storage can compromise the crispness and freshness of your Chex Mix. After allowing the mix to cool completely, transfer it to an airtight container to shield it from moisture and air exposure. Storing the container at room temperature in a cool, dry place maintains the snack’s optimal texture and flavor. Consuming the mix within two weeks is advisable; however, for extended storage, freezing in airtight freezer bags can preserve it for up to two months without sacrificing quality.
By being mindful of these common mistakes, you can ensure your chex mix recipe oven yields a consistently delicious and enjoyable snack every time.
Serving and Pairing Suggestions
Best Occasions for Serving Chex Mix
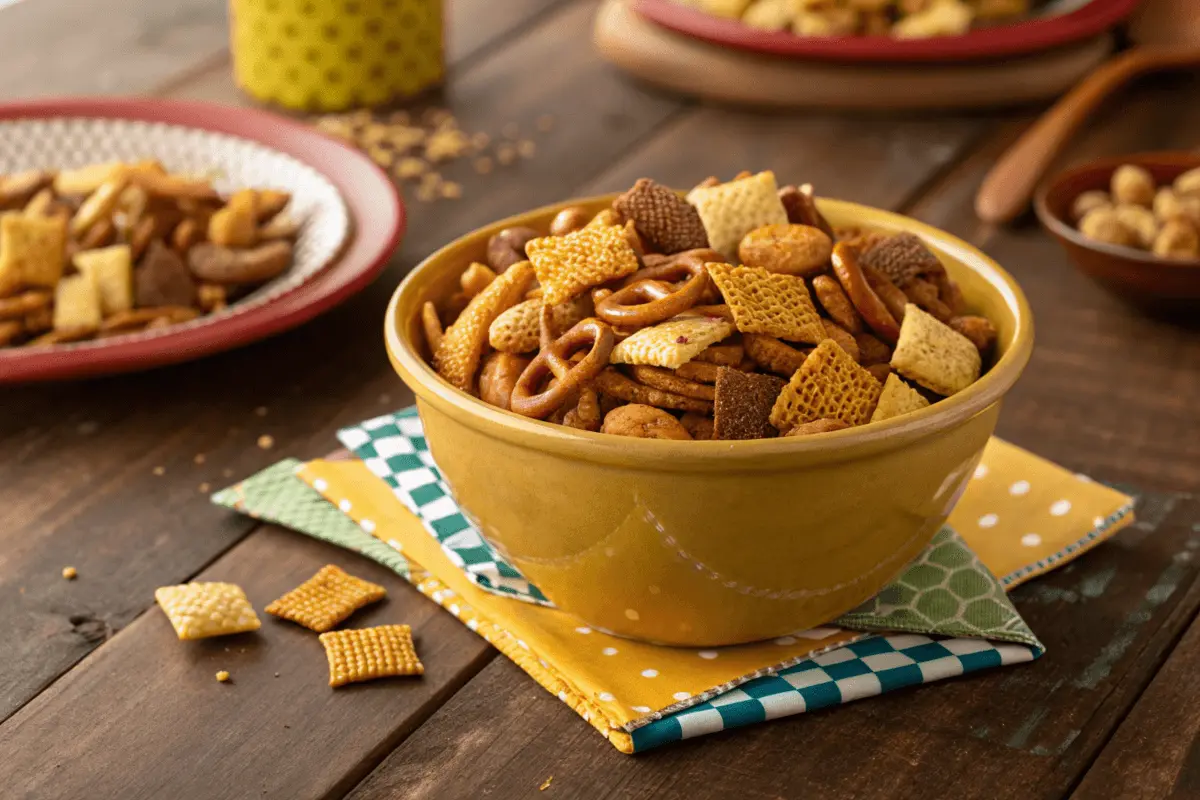
Chex Mix is a snack that shines at every gathering, from casual movie nights to formal holiday parties. Its versatile nature makes it perfect for serving as an appetizer, a party favor, or a quick munch during game nights. The chex mix recipe oven method ensures a crisp, flavorful mix that’s ready to wow guests. Arrange the mix in decorative bowls or portion it into small bags for easy sharing. Whether you’re hosting a barbecue or celebrating a birthday, this snack always hits the mark.
Pairing Chex Mix with Drinks and Other Snacks
Pairing your Chex Mix with complementary drinks can truly elevate the snacking experience. For instance, a savory mix pairs perfectly with craft beers, sparkling water infused with citrus, or light cocktails such as mojitos. On the other hand, sweet Chex Mix variations match wonderfully with hot cocoa, creamy milkshakes, or even dessert wines. If you’re setting up a snack spread, consider adding veggie platters, cheese boards, or chocolate-covered fruits alongside your mix. This combination of flavors and textures not only satisfies diverse tastes but also keeps guests coming back for more.
By tailoring your presentation and thoughtfully choosing pairings, you can easily turn a simple oven-baked Chex Mix recipe into the highlight of your snack table.
Frequently Asked Questions
Can I Make Chex Mix in Advance?
Yes! The chex mix recipe oven is perfect for preparing ahead of time. Bake a batch up to a week before your event, store it in an airtight container, and it’ll stay fresh and crunchy. This advance preparation makes Chex Mix an ideal choice for busy schedules.
How Long Does Chex Mix Last?
Homemade Chex Mix, when stored properly in a sealed container, typically lasts about two weeks at room temperature. For longer storage, freeze it in airtight bags, and it can remain fresh for up to two months. Always check for staleness before serving to ensure quality.
What Are Some Creative Ways to Serve Chex Mix?
While traditional bowls work fine, you can get creative with how you serve Chex Mix. For example, use small mason jars with ribbon for party favors, fill cupcake liners for individual servings, or layer it in clear containers with other snacks for a visually appealing display. These presentation ideas add charm to any event.
What Can I Substitute for Missing Ingredients?
If you’re missing an ingredient, don’t worry—Chex Mix is highly adaptable. Substitute crackers for pretzels, sunflower seeds for nuts, or soy sauce for Worcestershire sauce in savory versions. If you’re making a sweet variation, swap in candy or dried fruits for additional flavors.
Conclusion
The Joy of Making Homemade Chex Mix
Creating your own chex mix recipe oven is not just about crafting a delicious snack; it’s also about the joy of personalization and the satisfaction of homemade treats. Whether you stick to the classic recipe or explore creative variations, this mix has something for everyone. The slow baking process in the oven brings out the best flavors, making each bite a delightful experience.
Encouragement to Try Variations
One of the greatest things about Chex Mix is its flexibility. Don’t hesitate to experiment with different ingredients, from adding spicy flavors to incorporating sweet elements. Tailoring the mix to your taste preferences or seasonal themes makes it more than just a snack—it becomes a memorable part of your celebrations.
By following this guide, you’ll have the confidence to make a Chex Mix that’s perfectly crispy, flavorful, and ready to impress your family and friends.
Additional Tips and Tricks
Getting the Perfect Crunch Every Time
The key to achieving the ideal texture for your chex mix recipe oven lies in low and slow baking. Stir the mix regularly to ensure even toasting, and don’t rush the process by increasing the temperature—it’s worth the wait! Using fresh, high-quality ingredients also helps maintain the crunchiness you’re aiming for.
Storing Leftovers Like a Pro
Leftover Chex Mix can be just as enjoyable as the day you made it, provided it’s stored correctly. Always let the mix cool completely before transferring it to an airtight container. For extra freshness, consider using vacuum-sealed bags. If you’re planning to save it for a longer time, freezing portions is a great option.


3 thoughts on “How to Make the Perfect Oven-Baked Chex Mix: Easy Recipe & Tips”